Tile roofs last a long time, and they are heavy, so a good install depends on careful planning from start to finish. If you have never had one put on, the whole process can feel like a black box. Roofing Contractors works with homeowners across the United States, and we have found that people relax a lot once they know the order of things. Here is how a typical tile roof installation goes, from the first phone call to the check-in after the crew packs up.
Step one: the first phone call
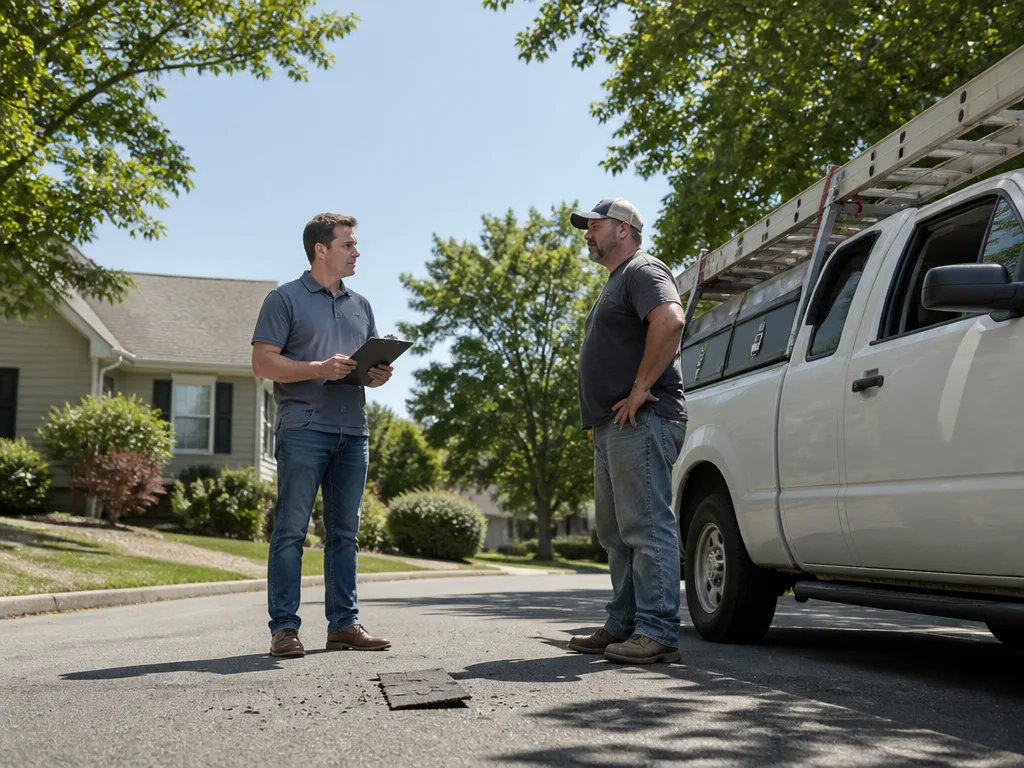
Everything starts with a call. Tell us what you have now, whether that is clay, concrete, an older shingle roof, or a leak you are tired of patching. Mention the roof's approximate age, any sagging or soft spots you have noticed, and whether the house has been reroofed before. Those details help us decide who should come out and what they should bring.
On that first call we will also ask about access. Is there a clear path to the backyard? Are there power lines near the eaves? Do you have a homeowners association with rules about roof color or profile? None of these questions are trick questions. They just save a crew from showing up unprepared.
Expect the conversation to be practical. You will hear plain talk about tile types, underlayment, and what the timeline usually looks like. If something is outside what we do, we will say so and point you in a better direction.
Step two: looking at the roof and the structure
Before any tile comes off, our roofers need to understand what is under it. Tile roofs are heavy, often several pounds per square foot more than asphalt, so the deck and rafters have to be able to carry the load. A roofer will walk the roof, check the decking for rot, and look at the framing from the attic side if access allows.
This is also the point where you may hear about structural repairs. Sometimes a few rafters need sistering, or a section of plywood needs replacing before the new underlayment goes down. Those findings are common on older homes, and catching them early is far better than discovering them halfway through the tear off.
Ask questions here. A good roofer will show you soft decking, point out cracked tiles, and explain why a repair is needed. You should leave that moment understanding the work, not just nodding along.
Step three: scheduling and preparing the site
Once the plan is clear, we set a date. In many areas we can schedule within the same week, though weather and permit timing can shift things. We will tell you the expected number of work days, the crew size, and roughly when they will start each morning.
Before the first day, we prepare the property. Cars should be moved away from the house. Patio furniture, potted plants, and outdoor grills need to go somewhere out of the way. If you have a garden bed under the eaves, cover it with a tarp or tell us so we can plan around it. Tile falls and debris drops, so protecting landscaping is a real part of the job.
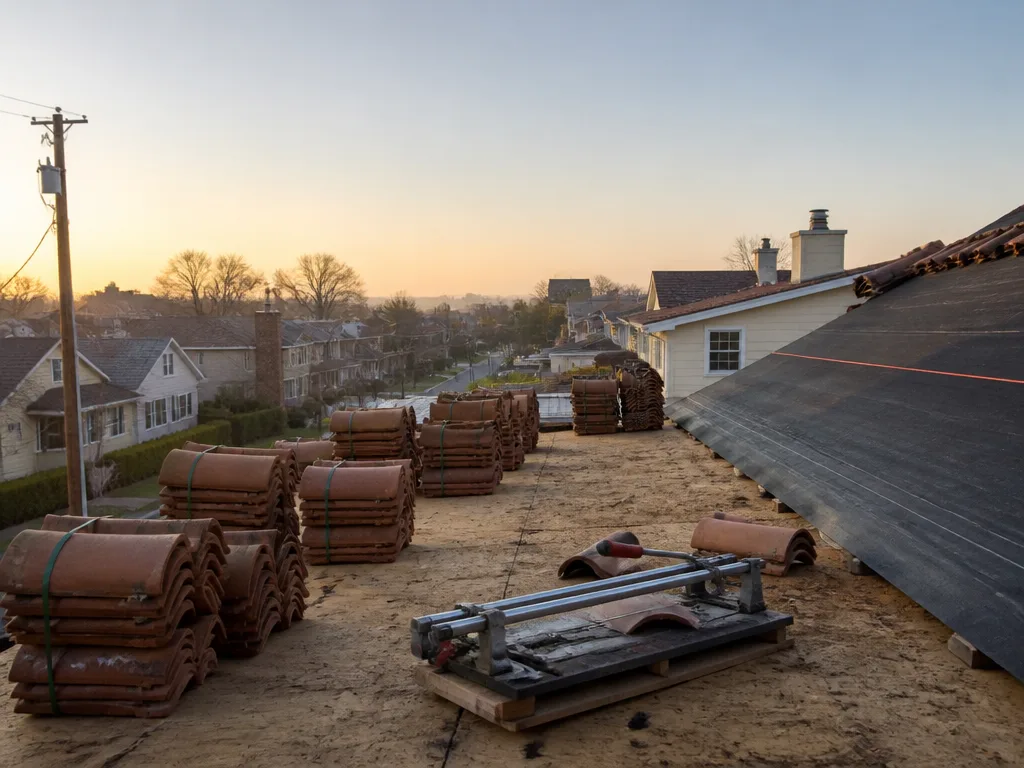
We also set up a staging area for pallets of tile. These weigh a lot, so the roofers will want a flat, firm spot close to the driveway. Let us know if the ground is soft or if there is a sprinkler line running through it.
Step four: the tear off
Tear off is the loud part. Roofers remove the existing tile, underlayment, and any nails or flashing that are no longer doing their job. The old material goes into a dumpster or truck, and the crew works in sections so the house stays dry even if the weather turns.
Expect dust, noise, and a lot of foot traffic on the roof. Keep kids and pets indoors during the heaviest hours, and do not stand directly under the work area. Our crews keep the yard clear and sweep the driveway at the end of each day, but a little dust gets everywhere.
- Old tile is stacked and removed in sections, not dumped in one spot.
- Damaged decking gets replaced before new underlayment goes on.
- Flashing around chimneys, vents, and valleys is inspected as it is exposed.
Step five: underlayment, flashing, and deck prep
This stage is invisible once the tile is on, which is exactly why it matters. Underlayment is the water barrier under the tile, and on a tile roof it does most of the long term work. Roofers lay it in overlapping courses, nail it according to the manufacturer's pattern, and tie it into the flashing at every penetration.
Metal flashing at valleys, walls, and roof transitions gets the same care. Water tends to find the weakest joint, so roofers take their time on these details. You may notice a crew member spending twenty minutes on a single corner. That is normal, and it is usually where the best work is happening.
Ask to see the underlayment before the tile goes on, if you are curious. Most homeowners appreciate the chance to see what is going underneath their new roof.
Step six: setting the tile
Tile goes on from the bottom edge up, and the roofers use a layout line so each course sits straight. Each piece is hooked or nailed according to the tile profile and local wind requirements. Cuts around hips, ridges, and penetrations are done carefully, and broken pieces are swapped out before the course is finished.
This is usually the longest stretch of the project. On a typical home, the tile phase takes several days depending on the roof size, pitch, and how many valleys and dormers it has. Weather is the main thing that slows it down. Our crews will not set tile on wet surfaces, and they stop when wind gusts get too strong for safe footing.
When the last course is in, the ridge caps go on. These are often the most visible detail from the street, so take a minute to look at the lines once the scaffolding comes down.
Step seven: cleanup and the walkthrough
Cleanup is more than sweeping. Roofers run magnets over the yard to catch loose nails, pick up tile fragments, and haul away every scrap of the old roof. Gutters get cleared, and any tarps or plywood come off the landscaping.
Then we walk the property with you. Look at the ridge, the valleys, the edges, and any flashing near windows or vents. Ask us to point out anything you want explained. We can show you the underlayment type, the tile profile, and where the attic ventilation sits.
Keep the paperwork that comes with the job. Note the date, the tile product, and any manufacturer information. You will want that file the next time someone asks what is on your roof.
Step eight: the follow-up
The job is not really over when the crew leaves. A few days after completion, we like to check in by phone to see how things look after the first rain or wind. Homeowners sometimes notice a small thing, like a loose ridge cap or a drip near a vent, and it is much easier to fix early.
After a big storm, walk the yard and look at the ground near the eaves. Small tile fragments or a few stray nails are worth reporting. Call us and describe what you see, and we will schedule a visit with a roofer who can look up at the roof with you.
That is the whole arc, from the first conversation to the follow-up call. If you are planning a tile roof, give us a call at your convenience and tell us about your house. We will walk you through the steps that fit your roof, wherever you are in the country, and local crews wherever you are will take it from there.